The Best Water Crafts for Kids · Craftwhack
Kids love to play in the water and with h2o, so why not make it even more fun and educational? Whether you're looking for a fun summer activity to do outside, teach your children a picayune most scientific discipline, or accept them create their own little pets, in that location's something for y'all. Here are some of the all-time water crafts for kids.
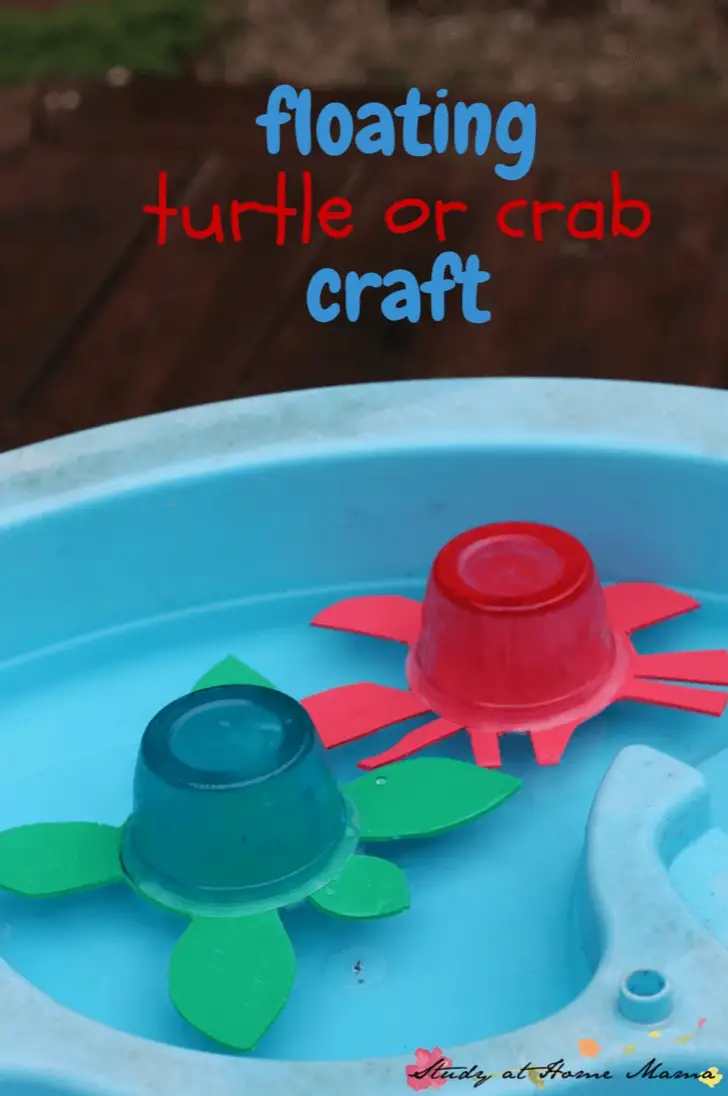
Floating Sea Turtle
 Source: By Jennifer @ Saccharide, Spice and Glitter, "Floating Turtle Craft" (https://sugarspiceandglitter.com/floating-turtle-arts and crafts/)
This cute floating sea turtle is the perfect watercraft for your kids and their friends!
Materials needed:
- Plastic fruit cups or applesauce containers
- Craft Pigment
- Glue
- Googly optics
- Green Craft Foam
Directions:
- Paint the plastic cups equally they will be the turtle's beat. Kids can use blue or light-green or paint them any way they like. Equally they're painting, utilise the green arts and crafts foam to create the shape of the turtle. You can freehand it or find an outline on google, impress it out, and trace it onto the foam.
- In one case the cups are dried down, gum them upside down to the shape of the turtle. Add the googly eyes if you lot want to.
- It'due south playtime! The turtles tin float in the bathroom, or you can create a water table and then anybody can play together.
Milk Jug Raft
Source: Past PBS for Parents, "Milk Jug Whitewater Raft" (https://www.pbs.org/parents/crafts-and-experiments/milk-jug-whitewater-raft)
The perfect place for your kids to permit their toys float around in the h2o. The milk jug raft is an splendid addition to bathtime or fun in the puddle in the summer.
Materials needed:
- Empty milk jug
- Two cake popular sticks
- Unmarried-hole Hole punch
- Duct tape
- Scissors
- Mucilage gun
Directions:
- Offset past cut off the base of the milk jug.
- Using the base that you've merely removed, dial holes in the opposite side of the walls.
- Use the cake popular sticks as paddles, using a small piece of duct tape folded over at the end of each stick for the apartment office of the paddle. Trim the edges into the shape of paddles.
- Put the other end of the cake pop stick through the concord punched holes.
- Employ the hot glue gun to go along the paddles attached to the jug.
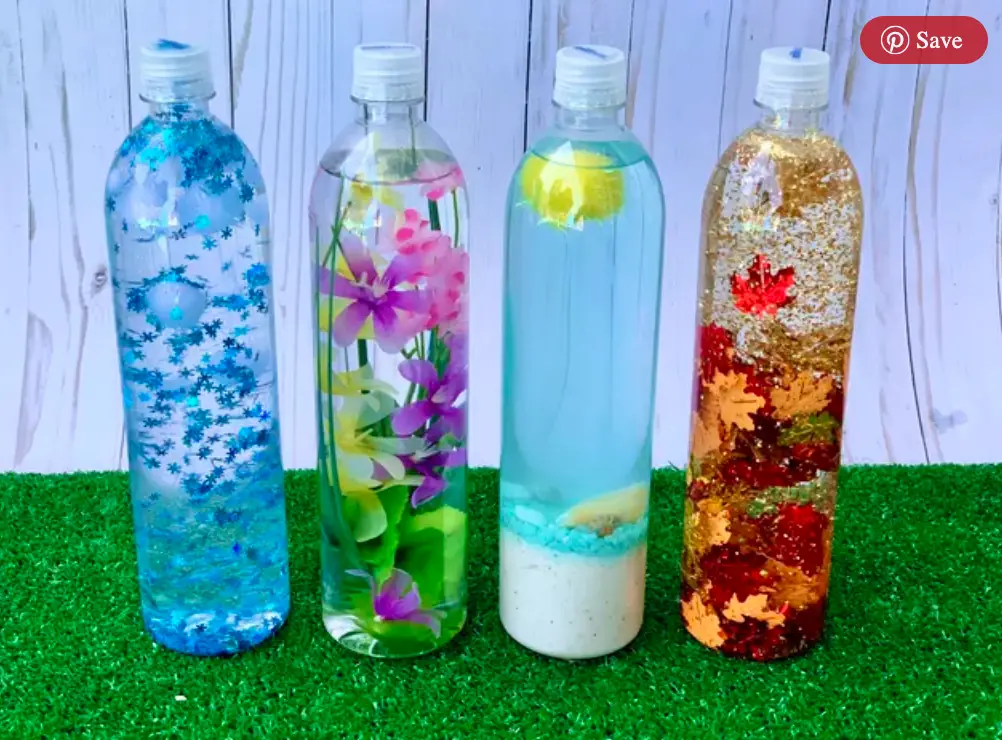
Sensory Bottles
 Source: By Kalia Silva-Phillips @ eHow, "DIY Seasonal Sensory Bottles" ( https://www.ehow.com/13726120/diy-seasonal-sensory-bottles?utm_source=pinterest.com;utm_medium=referral;utm_content=freestyle;utm_campaign=fanpage )
Sensory bottles are a smashing mode to get your kids to calm down and focus on something to assistance them deal with sensory overload. You can make them with anything you want, but these iv mimic the seasons, then it'south a learning opportunity every bit well.
Materials needed:
- Four clear water bottles
- Funnel
- Waterproof adhesive
- White glitter
- Snowflake glitter
- Gilded glitter
- Foil metallic sequin confetti
- White pom poms
- Yellow pom poms
- Artificial flowers
- Bluish pebbles
- White sand
- Seashells
- Bluish nutrient coloring
- Maple leaves
Directions:
- Remove all the labels from your h2o bottles if applicative. If there is residual or you tin't remove it totally, employ some rubbing booze on a cotton ball.
- For the winter bottle: You can add the snowflake confetti glitter and white glitter with the funnel into the empty bottle. Add in the white pom poms to mimic snow. Make full the bottle with water and use the waterproof adhesive when attaching the hat. Milk shake the bottle, turn it upside down for a calming winter snowfall effect. Ensure the inside of the cap is completely dry out before applying the adhesive, even if you lot have to leave information technology overnight.
- For the spring bottle: Commencement by putting your artificial flowers in the bottle. You tin add greenery or a diversity of flowers to make information technology colorful. Once you've added all the components you want, fill information technology up with h2o and seal the lid with the adhesive. Ensure the within of the cap is totally dry earlier applying the adhesive, fifty-fifty if yous take to leave information technology overnight.
- For the summer canteen: Kickoff by putting the sand in the bottom of your empty bottle. Add in any colorful rocks or seashells or annihilation else that reminds y'all of a embankment vacation. Add in the yellow pom pom for the sun. When filling up the bottle after you've placed everything in it, exit a little room at the top to add in blue food coloring to change the water. You lot tin can also apply some ink from a dark blue marking if you don't take food coloring. Test out how dark you desire the color by putting the lid on and giving it a shake. You tin can add together every bit much coloring as desired, but first with a little and go from in that location. Seal the bottle with waterproof agglutinative. Ensure the within of the cap is totally dry before applying the adhesive, even if you have to leave information technology overnight.
- For the autumn bottle: Add the foil metal sequin confetti, gold glitter, and maple leaves to your canteen. Be careful not to use as well much confetti, equally it'll cease up clumping together and won't spread out correctly. Make full upward your bottle and seal it with the adhesive. Ensure the inside of the cap is totally dry before applying the adhesive, even if you have to exit it overnight.
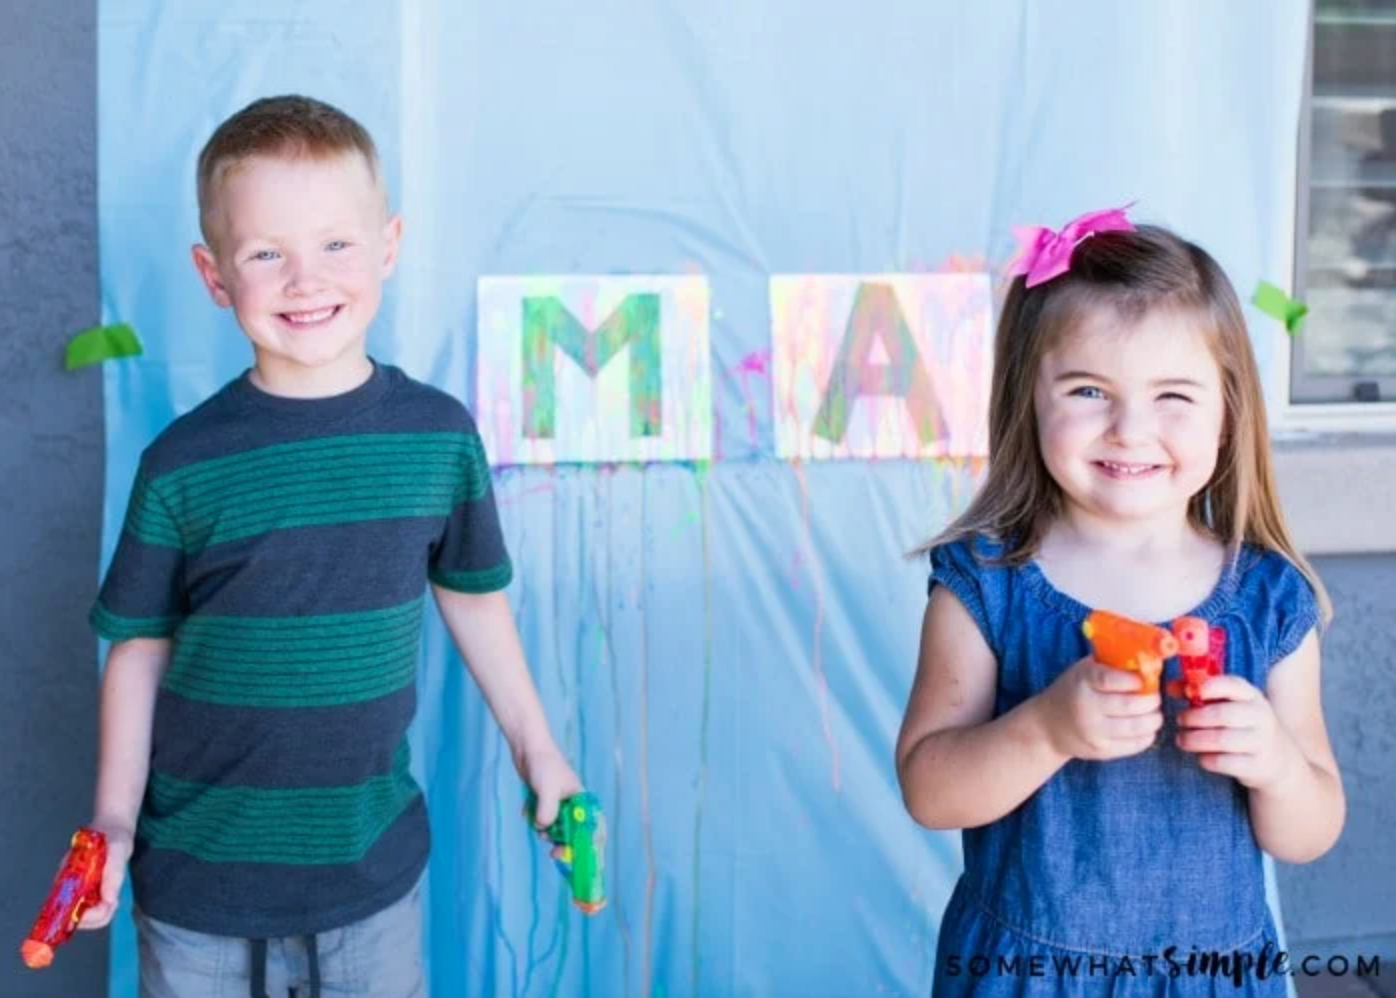
Create Fine art with Water Guns
 Source: By Stephanie Dulgarian @ Somewhat Simple, "Water Gun Painting Art Project" (https://www.somewhatsimple.com/fun-summer-art-projection-water-gun-painting/)
Is in that location anything that sounds more fun than this? It tin get messy, and so this is a great outdoor activity, or make sure the designated painting area is covered with garbage numberless or something to protect your floors and walls.
Materials needed:
- Water guns with like shooting fish in a barrel-to-pull trigger
- H2o
- Finger paints or Tempera paint
- Sandwich baggies
- Canvass
- Painters tape
- Scissors
- Garbage bags, drop cloth, old sheet, or table cloth
Directions:
- Create a 50/l mixture of paint and h2o in ane of the sandwich bags.
- Snip off the tip of one of the corners of your handbag and employ it as a funnel into the water compartment of your h2o gun.
- Create a design on the sheet with painter's tape. You can brand abstract designs, create your kid's initials or their favorite animals.
- Let your kids spray them, and have a blast!
- Once they're done, lay the canvas out on the ground until information technology's completely dry out.
- Remove the painter's tape.
Butterfly Craft
 Source: By Chelsey @ Buggy and Buddy, "Science for Kids: Chromatography Butterfly Arts and crafts" ( https://buggyandbuddy.com/chromatography-butterflies-separating-colors-in-markers/ )
The butterfly craft is a lot of fun to make and also includes a fun experiment for your kids to learn near chromatography.
Materials Needed:
- Markers that are non-permanent, similar Mr. Sketch
- Pencil
- White coffee filters
- Cups of water
- Pipe cleaners
- Scissors
- String
- Dropcloth or paper
Directions:
- Option the offset colour you'd like to experiment with, and don't worry, you'll get to encounter them all.
- Encompass your workspace with a driblet cloth, table cloth, or sometime sail in case of spills.
- Have a white java filter and use your chosen marker to create a thick circle around the center of the filter. Go out the very eye white, so when it's folded into a cone shape, the tip is however white. Use the pencil to indicate what colour you've called, as it will change throughout the experiment and arts and crafts, and you'll want to know what the original color was.
- Take the coffee filter and fold it in half twice, creating a cone shape.
- Fill up up a shot glass with water. Pull the filter autonomously a bit, so it uses the glass for balance, with the tip of the cone just touching the water. You don't demand much water, only enough to comprehend the tip of the cone. You lot don't want the colored portion in the water just withal.
- As the h2o begins to saturate the paper, you tin watch the magic happen.
- Repeat with all the other colored markers.
- Once the water has completely saturated your filter, you tin have information technology out and place it on the newspaper or drop fabric to dry. It can take a few hours, but once they're dried downwards, the results are beautiful.
- Now that the science experiment is complete, you can create beautiful butterflies out of your java filters.
- Take your piping cleaners and cut them in one-half.
- Accept a coffee filter and pinch the heart together, creating wings.
- Utilise the pipe cleaner to secure the center and shape the ends into antennae.
- You can necktie a string to the center, and they can hang from anywhere you like.
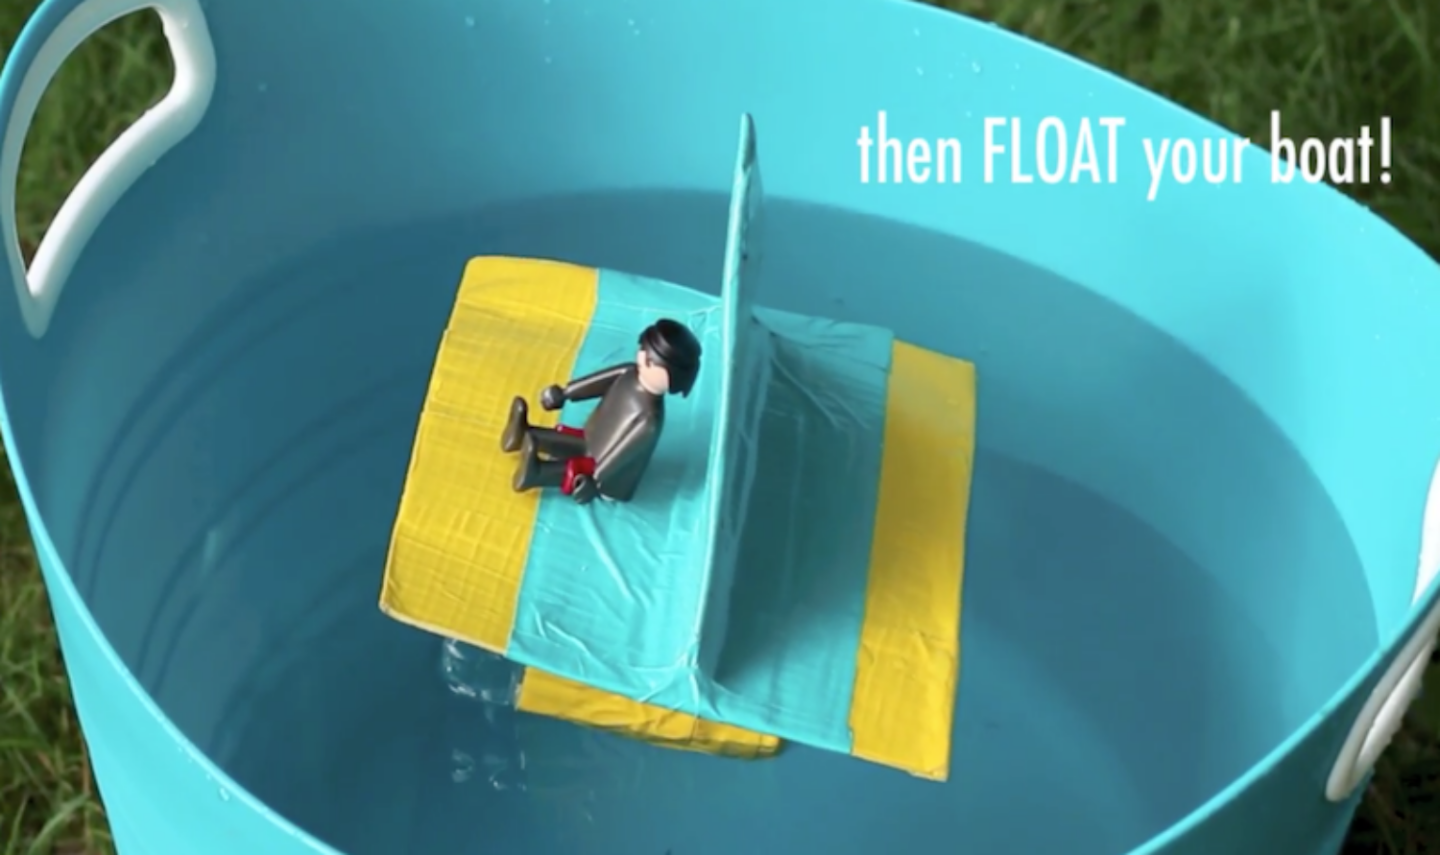
Water Bottle Boats
 Source: By PBS for Parents, "Float DIY Water Bottle Boats" (https://www.pbs.org/parents/crafts-and-experiments/float-diy-water-canteen-boats)
Take recycling to a whole new level with these water bottle boats that are fun to race.
Materials needed:
- Cardboard
- Duct tape
- Ii empty water bottles
- Scissors
Directions:
- Have the cardboard and cutting out a rectangle shape. Encompass it entirely in duct record.
- Tape the two h2o bottles together to the bottom of the cardboard cut out.
- Cut out a cardboard triangle and encompass it in duct tape. You tin can use a different colored tape to differentiate the boats.
- Use the triangle to brand a sail.
- Make full a plastic container or the bathtub up with water, and have fun racing your boats.
- Test out whether or not the boats can float with activeness figures or small toys on top.
Aquarium in a Mason Jar
 Source: By Toni @ Pattern Dazzle, "Stonemason Jar Aquarium" ( https://www.designdazzle.com/diy-glass-mason-jar-aquarium/ )
If your kid loves to arts and crafts, loves aquariums, but isn't ready to have existent fish of their own, the mason jar aquarium is the perfect compromise.
Materials Needed:
- 32oz or 64oz Bricklayer jar with lid. A wide oral cavity is ideal, but both styles volition work.
- Aquarium plants
- Aquarium gravel
- Toy fishes
- Fishing line
- Sewing needle
- Nutrient coloring
- Hot gum gun
- Scissors
Directions:
- If your mason jar's lid comes apart into two pieces, you lot'll want to start by sealing that off with the hot glue gun.
- Accept your plastic plants and mucilage them to the lesser of the jar.
- Add your aquarium gravel to the bottom of the jar until it's completely covered. It's typically around an inch tall.
- For adults only: take the sewing needle and heat the finish over an open up flame to make it just hot enough to pierce a hole in the top fin of the plastic fish. The hole is to be able to run a fishing line through information technology. The needle needs to exist hot enough to pierce both sides of the plastic fin.
- In one case the angling line is through the new hole, y'all'll want to leave enough slack that the fish hangs from the top of the mason jar at the right summit. You can so hot glue gun it down when you accept the right tiptop. Ensure the line-fishing line is entirely in the mucilage, and exist conscientious non to burn your fingers. You tin utilize a metal straw or old utensil if you need.
- When the glue is completely dry, you tin snip off whatsoever excess line. Your fish should be happily swimming in the air.
- One time you have all the accessories you want in the jar, you can fill it upwards with water. Fill it up virtually of the way and add some blue food coloring into the water. Start pocket-size to brand sure yous don't overdo it right away. You can add more than if you need to.
- Secure your lid, and y'all now have an amazing little aquarium to phone call your own without the maintenance.
This craft is a great group activity for your kids and their friends.
What do you call up?

Source: https://craftwhack.com/water-crafts/
0 Response to "The Best Water Crafts for Kids · Craftwhack"
Post a Comment